Operating Systems Concepts & Design
Lab 07 - System Specs & VMs
- Lab Procedure
- Part 1 - System Discovery
- Part 2 - Virtual the Machine
- Part 3 - Virtual Playground
- Part 4 - System Reports
- Extra Credit - It’s Not All Linux
- Submission
- Rubric
- Windows & WSL2
- Hints - Screenshots & Markdown
- Troubleshooting Virtual Machines
Lab Procedure
This lab will have you focusing on your physical system. Your workflow to complete the companion documentation is up to you.
Go to the folder that contains your repository (likely named ceg2350-yourgithubusername).
Create a new directory, Lab07.
Create a file named README.md in the Lab07 folder. The Lab 07 Template can be copied from this link:
https://raw.githubusercontent.com/pattonsgirl/CEG2350/refs/heads/main/docs/Labs/Lab07/LabTemplate.md
You may refer to additional resources outside of the recommended resources provided.
Any resource that you use that contributes to your understanding of exercises in this lab should be cited in the Citations section of your lab answers. To add citations, provide the site and a summary of what it assisted you with. If generative AI was used, include which generative AI system was used and what prompt(s) you fed it.
If you make mistakes with commands in the lab, note them! Writing down what went wrong and what the correction was will significantly help your learning journey. If you cannot find a correction, it will help the TAs or myself understand what point you reached and determine some potential solutions.
Part 1 - System Discovery
Find out the following information about your physical system. For the GPU section, you likely only have a integrated or dedicated GPU - not all systems have both. Only fill out what you have.
If research proves your system does not support something, leave documentation and supporting articles.
- You can use the manufacturer’s website / manuals
- You can post to our course Discord channel for help / hints
- Ex. “On __ OS, how are you finding __?”
- You should not need to install additional programs to find this information. If an internet article / forum suggests you to install additional software to gather the information, run away.
- CPU info:
- CPU brand & model:
- Number of cores:
- Number of logical processors:
- GPU info:
- Integrated GPU brand & model:
- Dedicated GPU brand & model:
- Link to driver software for GPU:
- Memory info:
- Physical memory (RAM) size (in GB):
- RAM used at system startup (in GB):
- Storage info (add section for each disk attached to your system):
- Disk 1 type: [HDD, SSD, NVME]
- Disk 1 brand & model:
- Total Disk 1 size (in GB):
- Primary partition / volume info:
- Primary partition mount point:
Cfor Windows users/for Linux / Mac users
- Total space on primary partition (in GB):
- Space remaining on primary partition (in GB):
- Filesystem on primary partition:
- Primary partition mount point:
- Motherboard info:
- BIOS / UEFI manufacturer & version:
- How to access BIOS / UEFI:
- How to enable CPU virtualization:
- Link to driver(s) from system manufacturer:
Note to Mac Users: Mac does have a BIOS / UEFI equivalent and there is a way to access. There is also a link to the driver software.
- OS info:
- Operating System name & version:
- Kernel for operating system:
- Bootloader:
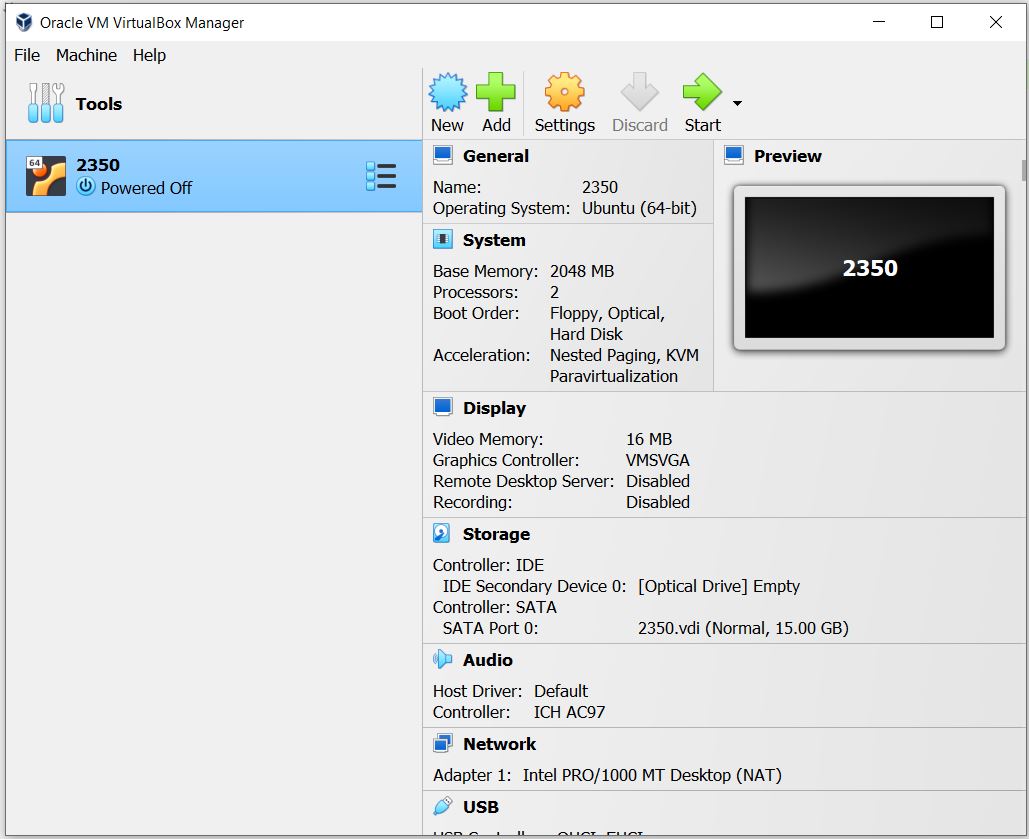
Part 2 - Virtualize the Machine
You should experience making some hardware choices and installing an operating system. The easiest way to do this is via virtual machines. This allows your host to segment a set of resources to run a machine (a guest) via your host. Developers (and students :wink: ) use VMs to install software that isn’t compatible with their host OS, download and explore suspicious packages, create test environments, and other things. Companies will buy a server with massive amounts of resources (200 CPUs, a few terabytes of RAM, a few petabytes of storage) and segment it by creating virtual machines for various software needs. We are using a VM allocated in Amazon Web Services… they are everywhere!
You will need a computer that has CPU virtualization enabled. The lab machines and open lab machines in Russ 152 B & D are all good candidates (and may have VirtualBox already installed). For your own machine, you may need to enable CPU virtualization in your BIOS / UEFI.
Resources we’ve whipped up
- Download and install a Virtual Machine Manager. This course will recommend VirtualBox
- Download and install VirtualBox Virtual Machine Manager.
- Pick your host OS when installing
- For example, Windows users should select “Windows hosts”
- Also download the VirtualBox Extension Pack for later use.
- Mac M1, M2, and M3 Users:
- Mac M#’s use an ARM based CPU, which means not all software is built for your CPU architecture. VirtualBox should work, but in case it still doesn’t, you can either buy a license for Parallels (not recommended) or install UTM (recommended)
- UTM - free if you click “Download”. You can support the developers by paying through the App Store.
- Mac M#’s use an ARM based CPU, which means not all software is built for your CPU architecture. VirtualBox should work, but in case it still doesn’t, you can either buy a license for Parallels (not recommended) or install UTM (recommended)
- Windows 11 Users:
- If VirtualBox is throwing errors, try Hyper-V Manager software. You may need to Enable Hyper-V Manager
- Download and install VirtualBox Virtual Machine Manager.
- Download an ISO (installation image) for a Linux distribution with desktop environment of your choice.
- The point is to go through the installation process. Do not download and use a pre-built VM image for this lab. You may switch to that on your own time.
- Recommended options include: Ubuntu Desktop, LUbuntu, Linux Mint, Elementary, Kali, Pop OS, Rocky
- See DistroWatch to see just about every option and a summary of why it exists.
- Create a new Virtual Machine. Choose your downloaded iso to install from.
- Pay attention to minimum hardware specifications for the guest operating system you choose. They will guide the minimum hardware you need to assign to the VM for good enough performance.
- I would recommend 5-10 GB in addition to the minimum disk space required by your choice.
- Start your Virtual Machine and install the Guest Operating System
- In some cases, you may need to remove the installation media once you complete the install. If you complete the install and reboot and are dropped back into the installation prompts after installing, this applies to you.
- If using UTM refer to our UTM Setup Guide
Part 3 - Virtual Playground
Accomplish the following tasks using the guest OS in the virtual machine you made in Part 2. In your lab template, write a “how to” of steps taken to complete each task.
- Customizing the desktop background in your guest OS
- Installing VSCode in your guest OS
- Sharing a clipboard or folder between your host and guest OS
- In VirtualBox, this involves “Inserting” the Guest Additions CD image, then running the
VBoxLinuxAddition.runexecutable as root
- In VirtualBox, this involves “Inserting” the Guest Additions CD image, then running the
- Cloning your course repository to your guest OS
- Connecting to your AWS instance from your guest OS using
ssh
Part 4 - System Reports
sys-info.sh is a bash script that generates a report of specs for Linux systems
The report will include OS and kernel version, CPU info, RAM usage, Disk space usage, and GPU info.
Run this report on both your AWS instance & your Linux Virtual Machine and add the results to your Lab template.
For each piece of info generated in the report, note at least one way to confirm the information is factual and the output is as expected. You may not use the same method on both systems - if you find a command line way on one system, you need to find an alternative option in the other.
The purpose here is to get you to explore both command line methods and graphical interface methods to finding system information.
Extra Credit - It’s Not All Linux
Provide information about the purpose of sys-info.sh (and / or the whole script) to a generative AI system of your choice. Have it create a version of this script that outputs similar information for one of Windows or Mac based systems.
Run the script and provide:
- the script
- the report from the script
- details on how to confirm the accuracy of the reported output
Submission
-
Verify that your GitHub repo has a
Lab07folder with at minimum:README.md- image files
-
In the Pilot Dropbox, paste the URL to the
Lab07folder in your GitHub repo- URL should look like: https://github.com/WSU-kduncan/ceg2350s24-YOURGITHUBUSERNAME/tree/main/Lab07
Rubric
Your files should be cleanly presented in your GitHub repository. Citations should be included as needed. Include which generative AI system was used and what prompts were used if generative AI was used.
Windows and WSL2
Windows Subsystem for Linux (WSL) is a feature of Windows that allows you to run a Linux environment on your Windows machine, without the need for a separate virtual machine or dual booting. WSL is designed to provide a seamless and productive experience for developers who want to use both Windows and Linux at the same time.
Check out the full list of features: https://learn.microsoft.com/en-us/windows/wsl/about
Once upon a time, we required Windows user install WSL2 with Ubuntu in order to use utilities like ssh. I strongly recommend Windows users install this. Upper level course will expect you to be aware of it and have it if you need it. Most developers who use Windows systems will have WSL2 with a linux distro in order to enable Linux based workflows.
Video - WSL2 Overview - Network Chuck
By default, WSL2 will come with Ubuntu selected as the default distro. Other options can be viewed in the Microsoft Store or you can find instructions to install a custom distro.
Hints - Screenshots and Markdown
There are a lot of ways to add screenshots to a markdown file. I’m going to tell you my way. I use my system to take a screenshot, and then I upload files in my repository in GitHub.
Remember when content exists in your repository folder on GitHub, but does not exist in your local folder (the one you usually git push from) you need to do a git pull to sync back up.
We are going to be uploading images directly to our repository in GitHub, then use git pull pull those changes (more specifically, pull the commits which include the changes) to our cloned repositories.
- Take the screenshots required by part 1. Store them somewhere easy to access (like your Desktop).
- Go to your GitHub classrooms repo in a browser: https://github.com/WSU-kduncan/ceg2350s24-YOURGITHUBUSERNAME
- Click the “Add files” button, then click “Upload files”
- Upload your screenshots. Write commit messages in the browser text fields, then click “Commit Changes”
- you should now see the images in your repository in GitHub
- Head back to a terminal where you are working on your Lab 07 documentation
- type
git pull - you should see your file names appear in the change list
- and you should now be able to
lsand see them
- type
- In your lab template, you have a lines similar to:
- keep the parenthesis, but fill them with the relative path to your respective photos
- this should be relative to being in your repo folder
# Either of these will work.
# The first is relative to VBox being in the same folder as the file I'm referencing it in (Lab 07)
# The second is an absolute path within the context of the repository

Either of these will work.
The first is relative to VBox being in the same folder as the file I’m referencing it in (Lab 07)
 The second is an absolute path within the context of the repository
Troubleshooting Virtual Machines
Graphics Troubleshooting
- If you see an error about video memory /
vmwgfxerrors / have a blank screen:- Power off the VM and change the following Display settings:
- Video Memory - 128 MB (max it out)
- Graphics Controller - VMSVGA
- try VBoxSVGA if trying VMSVGA is still a showing a blank screen
- If your VM is running “slow”, try enabling 3D acceleration and bumping up your vram
- Sodergren’s VirtualBox Troubleshooting has some other step by step help note
Kernel panic
Kernel panic generally implies that the VM needs more than one CPU core. 2 should be plenty. Check the recommended system specs for the guest OS.
Working with Guest Additions
- How to install guest additions on guest VM (LUbuntu used, but can be generally applied):
- https://www.easytechguides.com/install-virtualbox-guest-additions/
- If your LUbuntu Desktop session crashes after installing GuestAdditions, I recommend switching to the Mate Desktop environment - all other apps will work, just no Desktop or Desktop icons. After installing, you can select Mate at the log on screen. Install Mate:
- https://code.luasoftware.com/tutorials/linux/install-mate-desktop-on-lubuntu/
- Full screen mode (after installing GuestAdditions)
- https://www.nakivo.com/blog/make-virtualbox-full-screen/
- Go down to “How to Make VirtualBox Full Screen for Linux Guests”
Mac Users
Please take all advice below with a grain of salt - I test things for this course on Windows and Linux, not Mac. The following info is collected from helping students with troubleshooting and solutions that helped them.
Mac x64 users (intel / amd):
There may be bugs with VirtualBox 7.0 - if you see NEM something as an error, then it’s bugged. Rolling back to 6.1.40 solves this. Installer page: https://download.virtualbox.org/virtualbox/6.1.40/
Mac M1 Users:
That ARM based processor is a bear. UTM instructions (including an ARM based image): https://mac.getutm.app/gallery/ubuntu-20-04
I recommend using the open labs (152B&D) as they have VirtualBox installed already.